How to Add Customers to Shopify Using Lantern Quiz
If you prefer, you can check out this information in video format.

With Lantern’s Shopify integration, you can automatically create or update customer profiles directly from quiz. This guide will show you how to enable customer creation, add tags, update existing customers, and manage marketing consent with GDPR compliance, including single and double opt-in options.
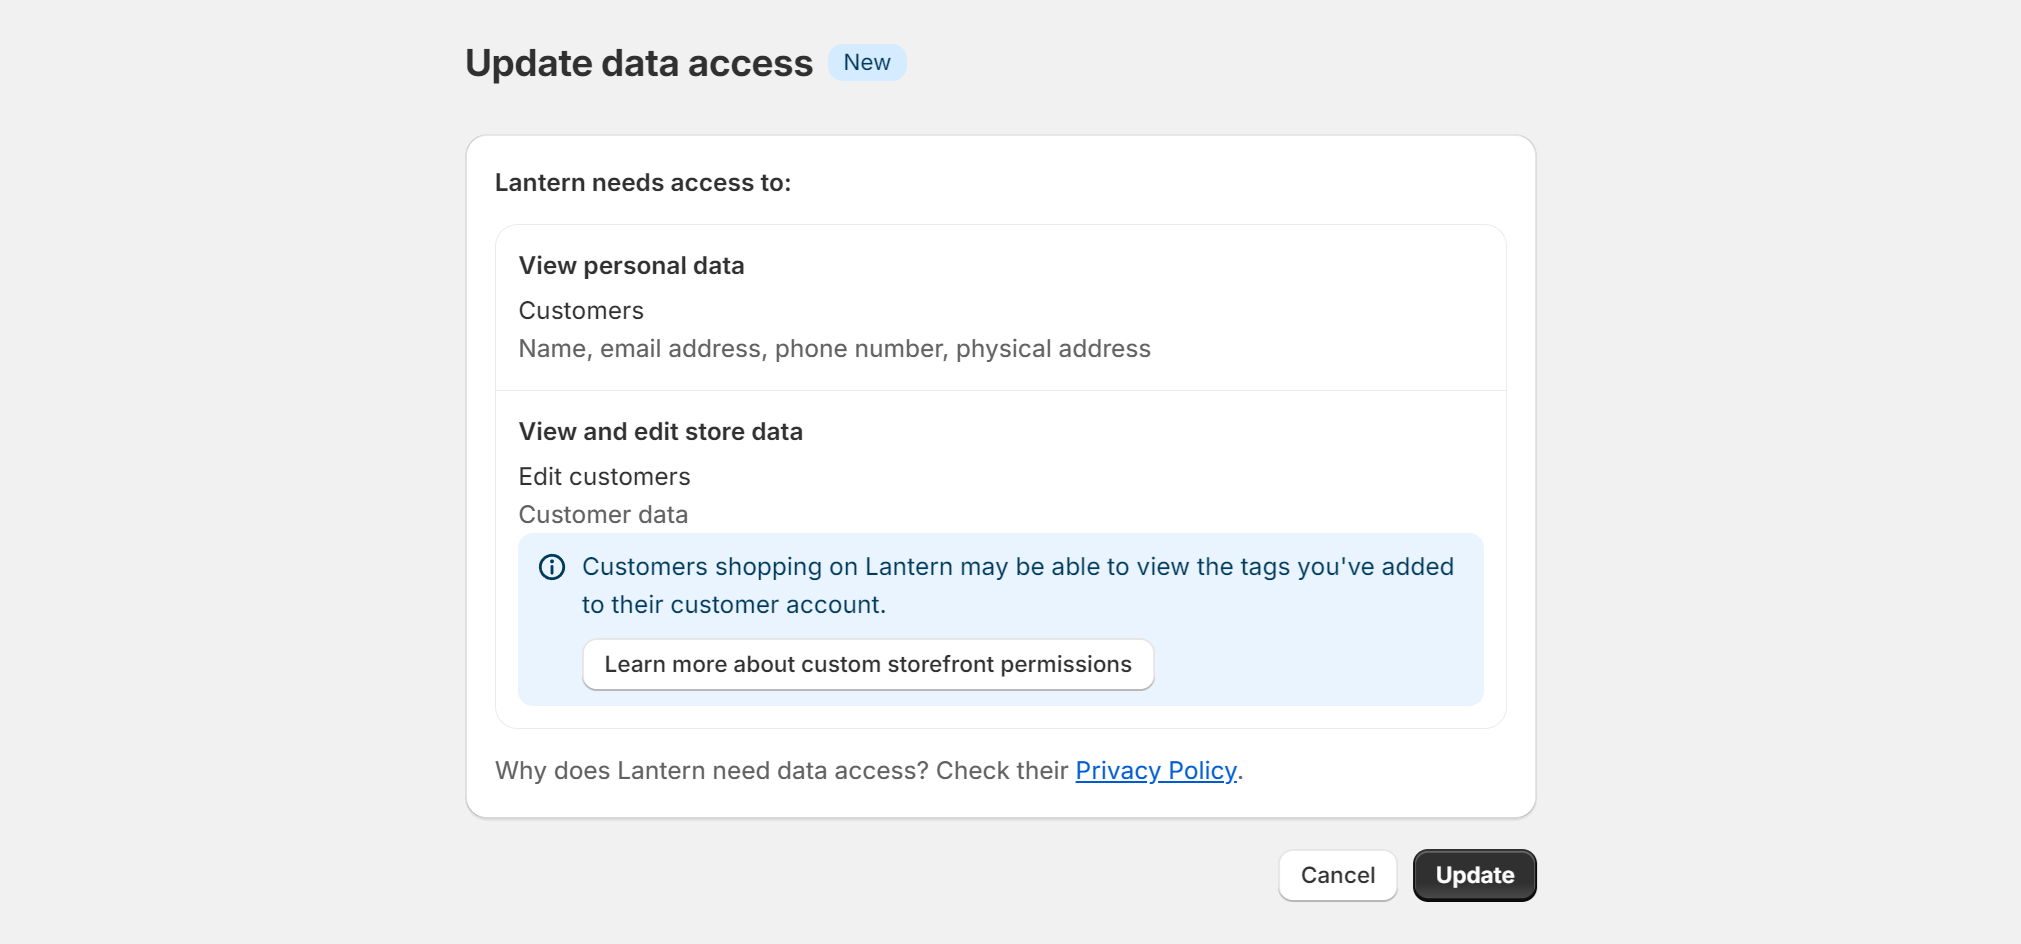
Note: For existing Lantern users, a popup will appear asking for additional permission to allow Lantern to create Shopify customers. Make sure to approve this permission to enable the new feature.

1. Enabling Customer Creation from the Results Page
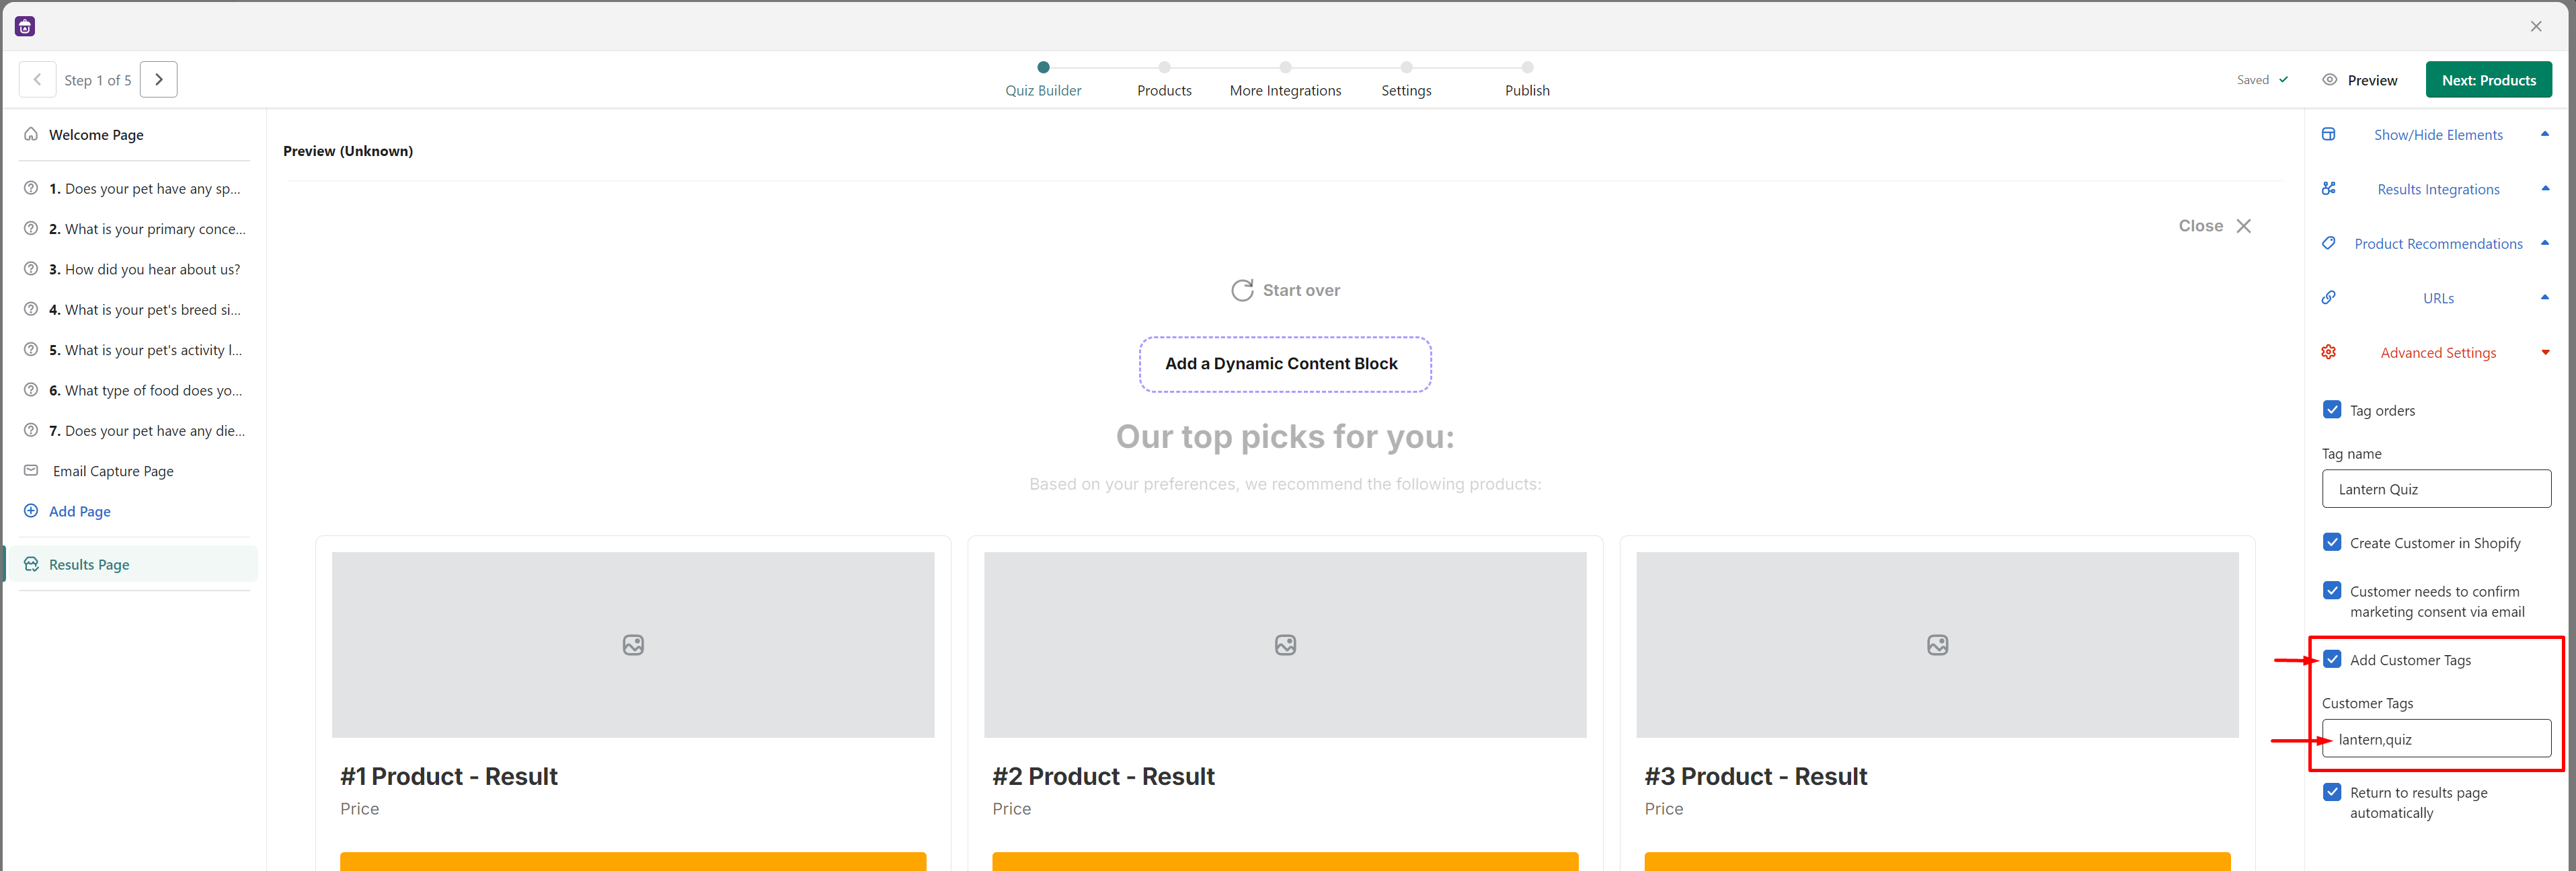
1.1 Inside the Quiz Builder, navigate to the Results Page and go to the Advanced Settings on the right-hand side menu.
1.2 Enable the Create Customer in Shopify checkbox.
- A new customer profile will automatically be created in Shopify when the user enters their email address, completes the quiz, and reaches the results page.

1.3 There are additional settings that depend on this option:
- Customer needs to confirm marketing consent via email: Enables the double opt-in process for marketing permissions.

2. Adding Customer Tags
2.1 In the Advanced Settings of the Results Page, enable the Add Customer Tags checkbox.
2.2 In the input box, enter the tags you want to apply, separated by commas (e.g., “lantern, quiz”).

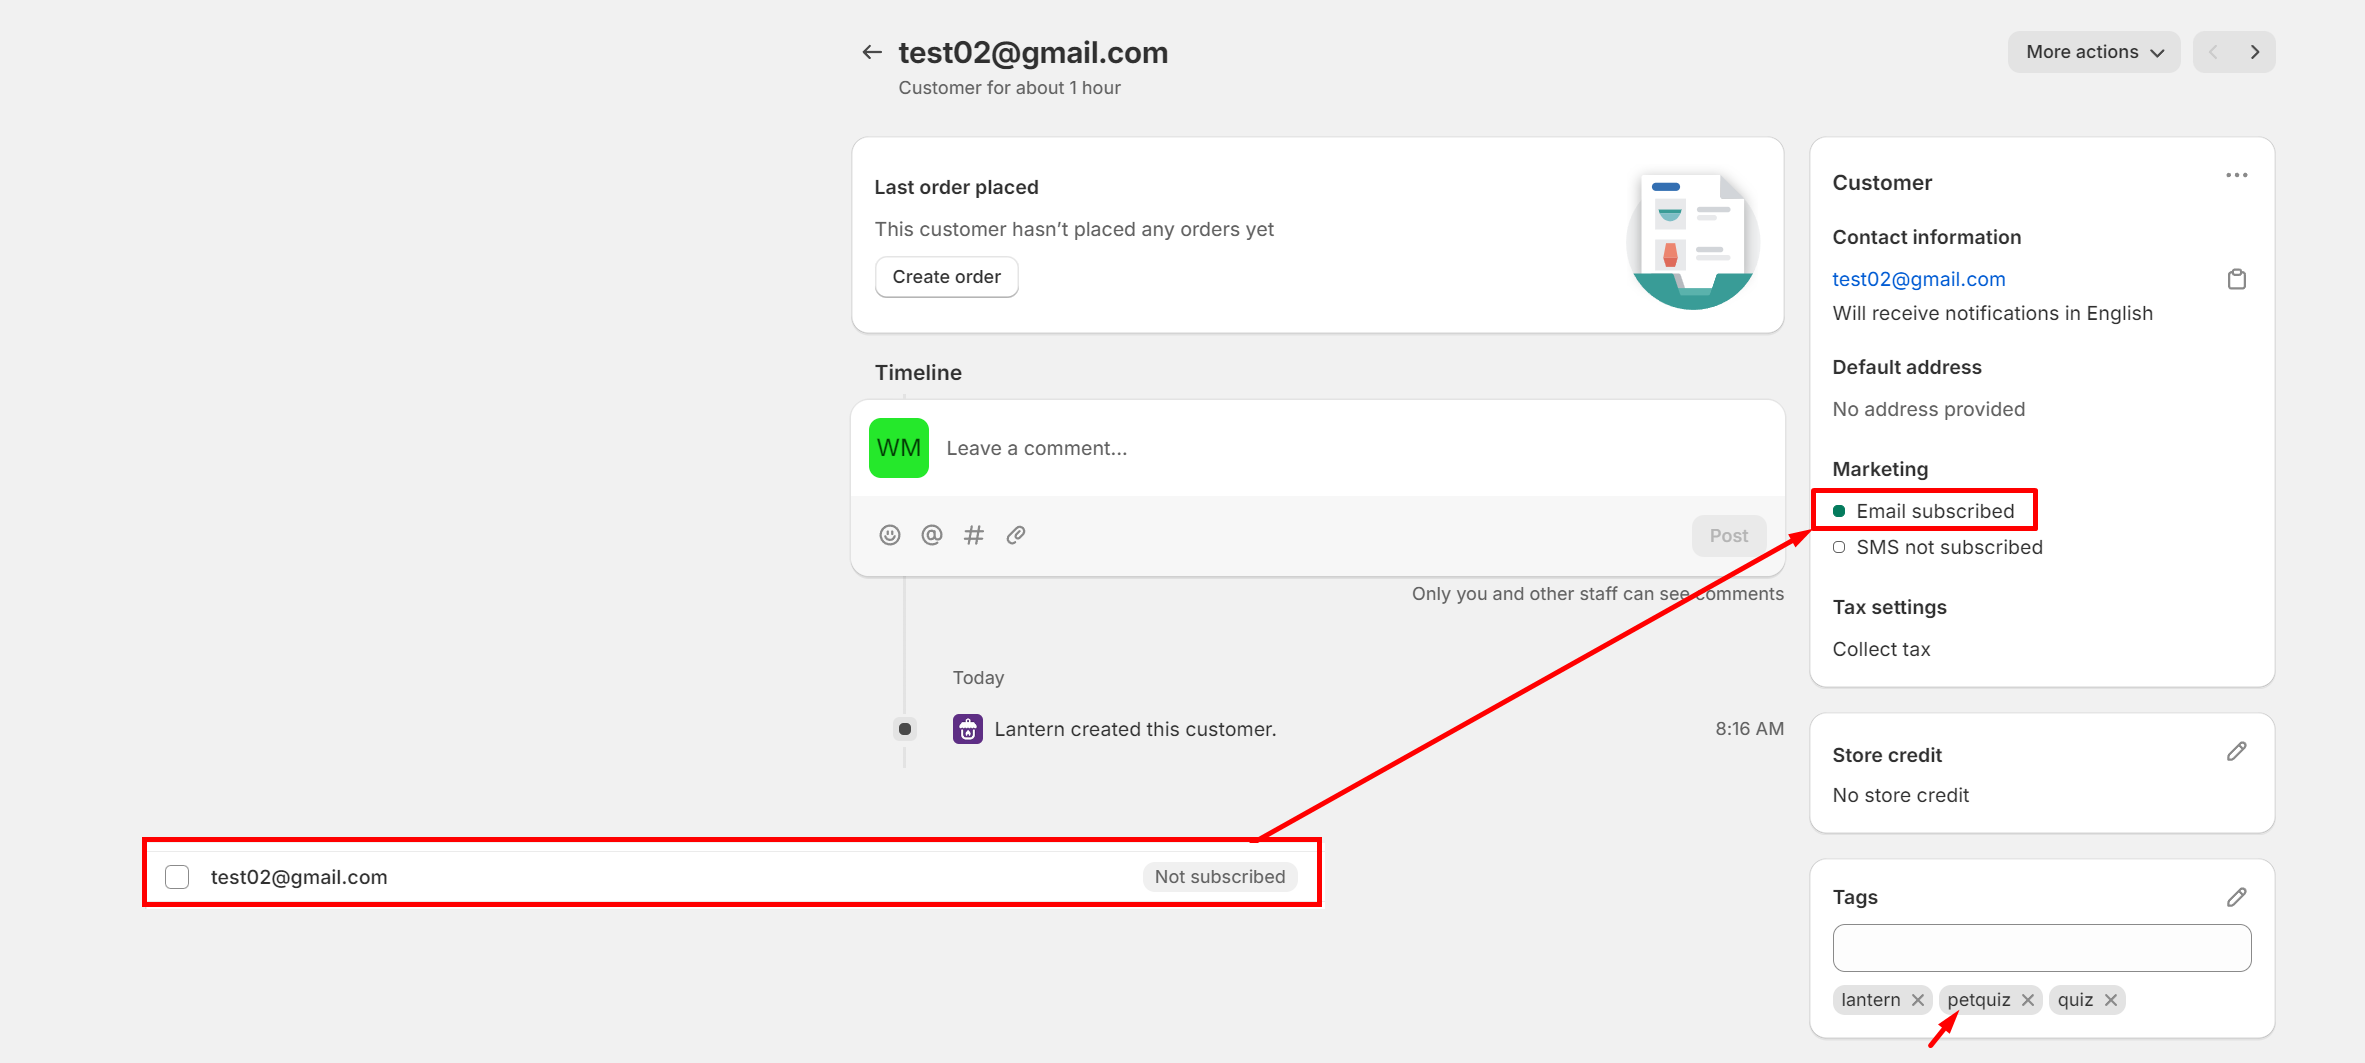
- These tags will automatically be added to the customer profile in Shopify.

Note: The Create Customer in Shopify option must be enabled for tags to be applied.
3. Handling Existing Shopify Customers
3.1 If a customer already exists in Shopify, new tags added through the quiz will be appended to their profile without erasing existing tags.
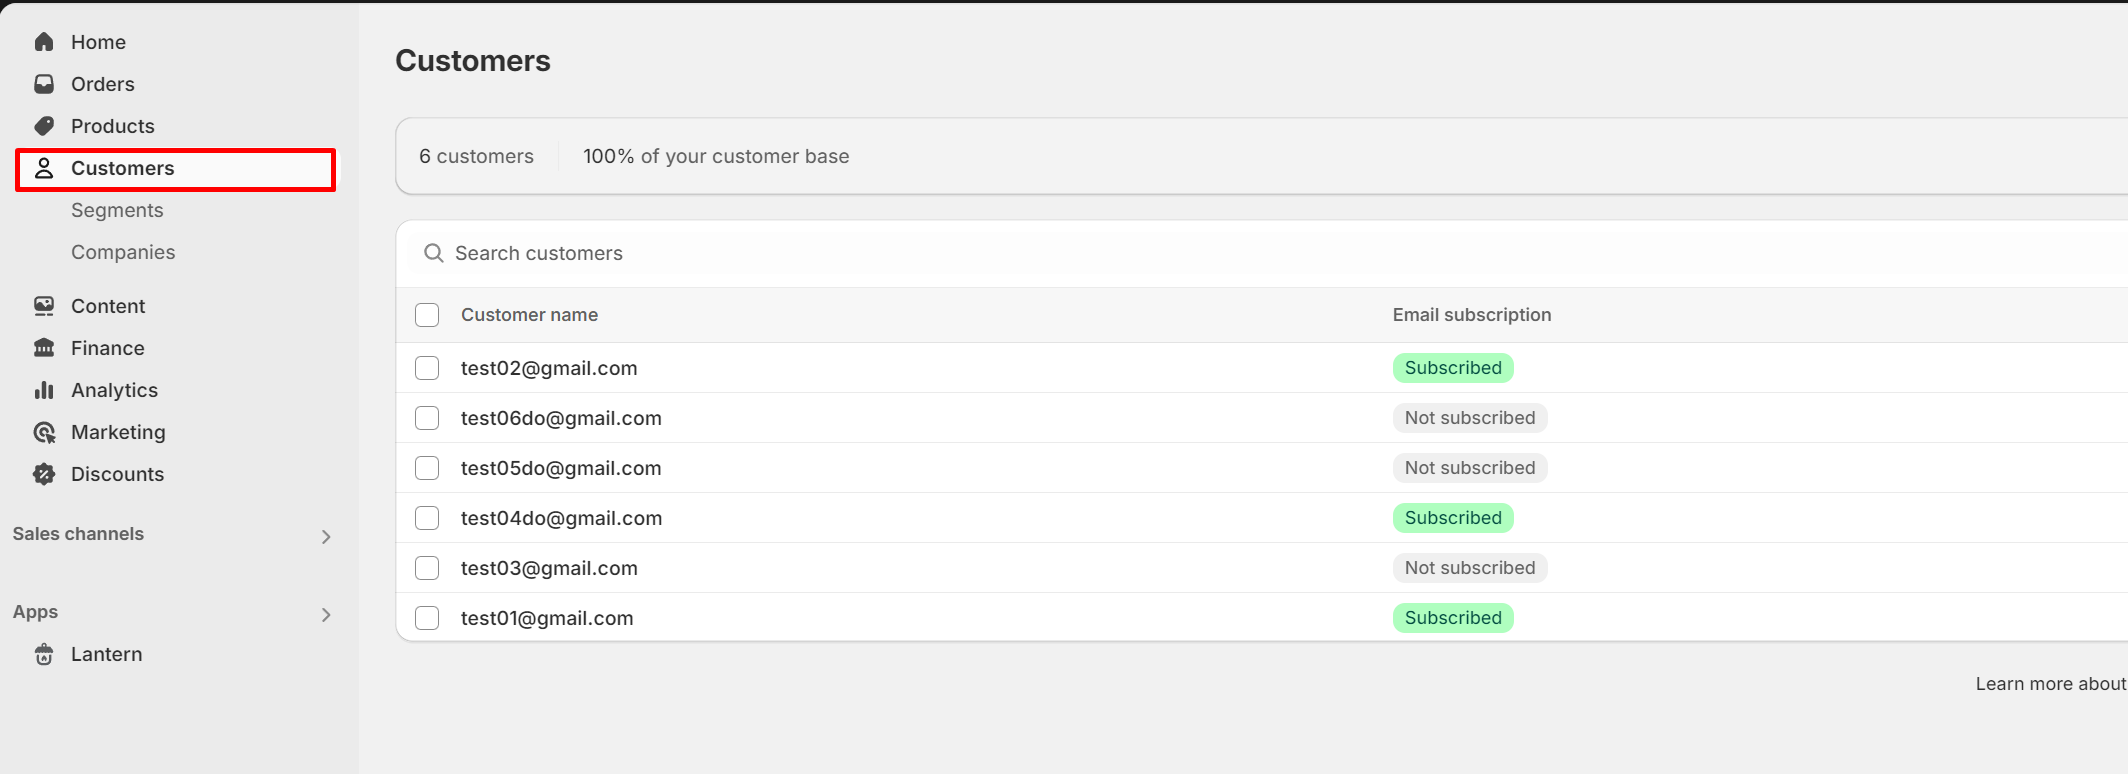
3.2 If the customer was previously Not subscribed from email marketing but subscribes through the quiz, their subscription status will be updated.

This ensures customer data remains accurate and up-to-date, without creating duplicate entries in your Shopify store.
4. Marketing Consent and GDPR Compliance
To ensure GDPR compliance and provide flexibility in managing customer marketing permissions, Lantern’s marketing consent feature allows you to handle opt-ins for email communications directly in Shopify.
4.1 Setting Up the Marketing Consent Feature
4.1.1 Navigate to the Email Capture Page in the Quiz Builder.
4.1.2 From the "Show/Hide Page Elements" drop-down menu, select the GDPR Checkbox. By default, it is hidden, but you can choose to display a mandatory or optional checkbox.
4.2 Configuring GDPR Checkbox Settings
4.2.1 You can display the checkbox above or below the Submit and Get Results button.
4.2.2 A mandatory checkbox requires participants to agree to marketing or accept your Privacy Policy to proceed to their results.
4.2.3 An optional checkbox lets participants submit their email without agreeing to marketing, allowing them to see the results without checking the box

4.3 Storing Marketing Consent Data
4.3.1 The marketing consent data is stored for compliance purposes and can be accessed in the Submissions report.
4.3.2 A new column titled Marketing Consent will display:
- "YES" if the checkbox was selected.
- "NO" if it was optional and not selected.
- "N/A" if the quiz did not include a GDPR checkbox.

5. Single vs. Double Opt-In
In this scenario, the email address is provided. If no email address has been provided, no customers will be added automatically.
5.1 Depending on your opt-in method, email subscriptions are handled as follows:
5.1.1 Single Opt-In:
- With Marketing Consent: Customers are added and the Email subscription status is "Subscribed".
- Without Marketing Consent: Customer are added, but the Email subscription status is "Not subscribed".
- No GDPR Checkbox: Customers are added, but the Email subscription status is "Not subscribed".
5.1.2 Double Opt-In:
- With Marketing Consent: Customers are added, and the Email subscription status is "Subscribed".
- Without Marketing Consent: Customers are added, but the Email subscription status is “Not subscribed”.
- No GDPR Checkbox: Customers are added, but the Email subscription status is “Not subscribed”.

As always, don’t hesitate to contact our support team if you have any question or need any assistance.


.webp)


